
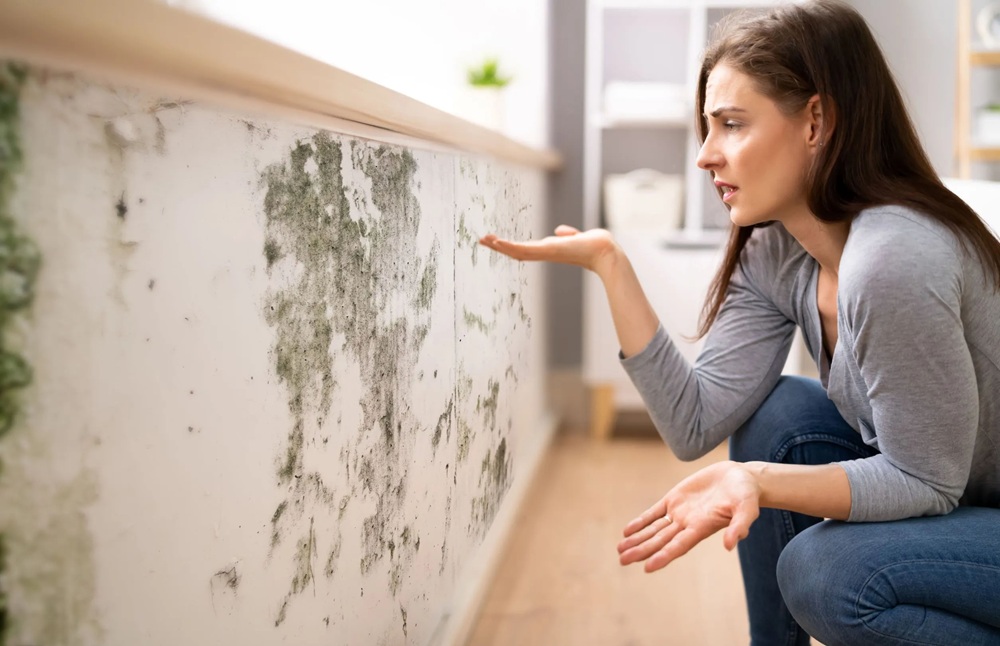
According to the US Environmental Protection Agency, common dust and dirt contain VOCs, lead, and other synthetic materials. These are the very same and harmful materials that sit on your uncleaned walls and cause the decline of the air quality index of your indoor space. This reason alone is enough to clean your walls every month at least. But many people are confused about how to clean their walls which is understandable. Allure Wallpaper has brought you a complete and detailed guide about a cleaning routine that would make your walls cleaner and more hygienic.
Types Of Wall Finishes And Their Cleaning Challenges!
Before diving straight into the cleaning, you need to understand the composition and finishing of your walls. The thing is that each wall has a different core material and a different finish, and a cleaning method that might work for one wall might not work for the other. This is why we have devised a cleaning routine that would fit every wall finish. Before that, below is a brief description of major wall finishes and the challenges one might face while cleaning them.
1- Paint (Matte, Glossy, & Eggshell)

- Cleaning Challenge: stains are visible on matte paint, while glossy paint shows streaks.
- How To Overcome Them: Use gentle cleaning solutions and detergents for both types of paint.
2- Textured Wall Treatments (Plastered, POP, and Venetian)

- Cleaning Challenge: They have crevices that can trap dust in them.
- How To Overcome Them: Use a soft scrubber, brush, or softer microfiber cloths to avoid damaging the texture via tough bristles.
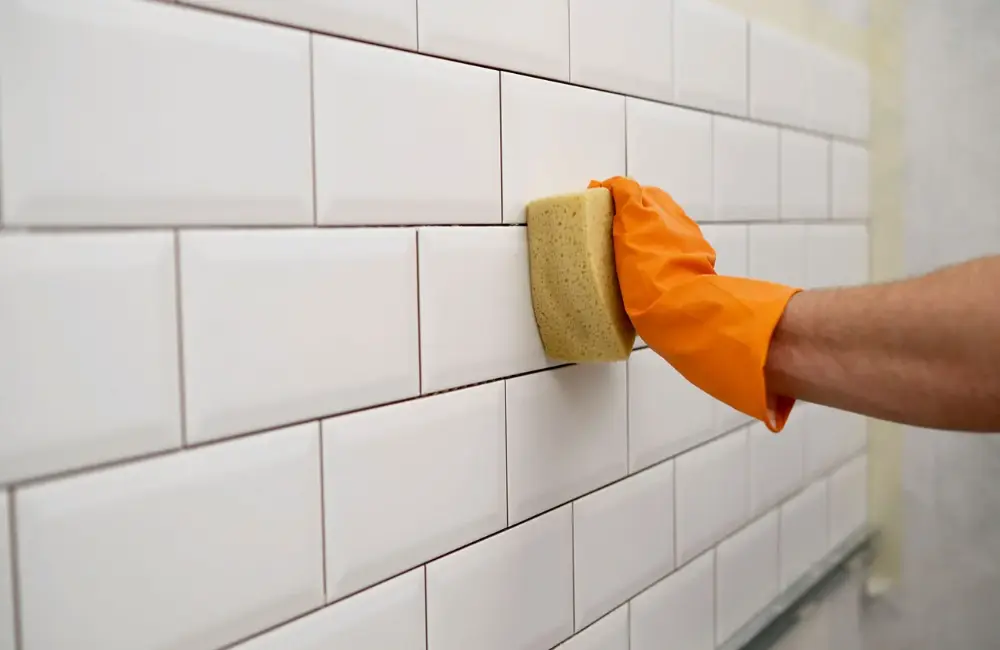
3- Tiled Walls (Ceramic and mosaic)

- Cleaning Challenge: Tiles have grout lines. They can trap dirt, debris, and mold in them.
- How To Overcome Them: Use mild bleaches to thoroughly clean and disinfect the grout lines.
4- Modern Wall Cladding (Wood, Stone & Metal)
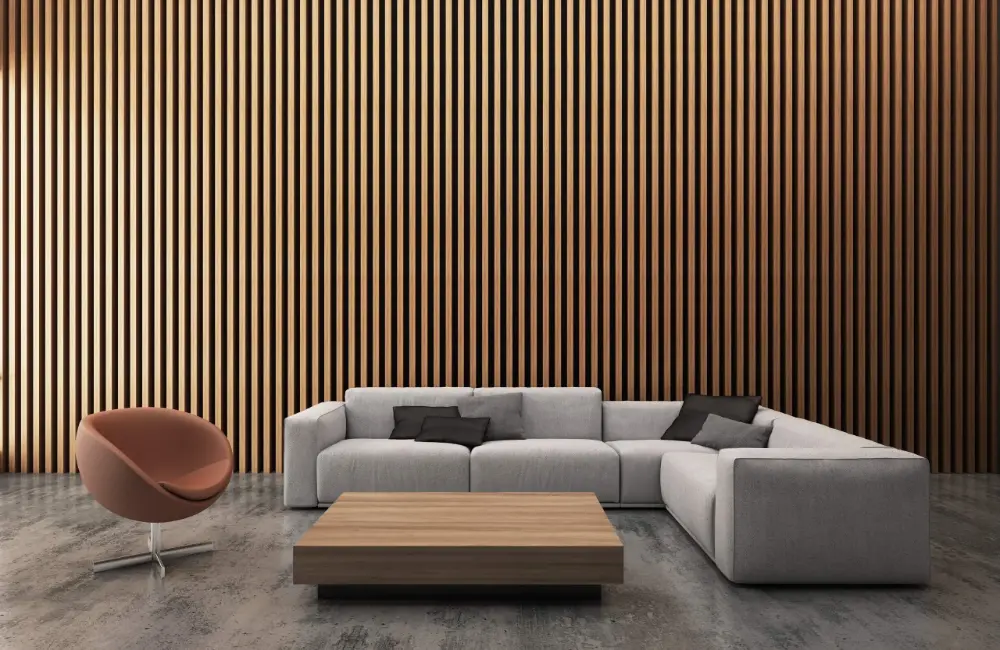
- Cleaning Challenge: Can not be cleaned with water or certain chemicals, as they can damage the finish.
- How To Overcome Them: Use wax-based cleaners or varnishes that are specially made for such wall finishes.
5- Wallpaper (Embossed, smooth, and textured)
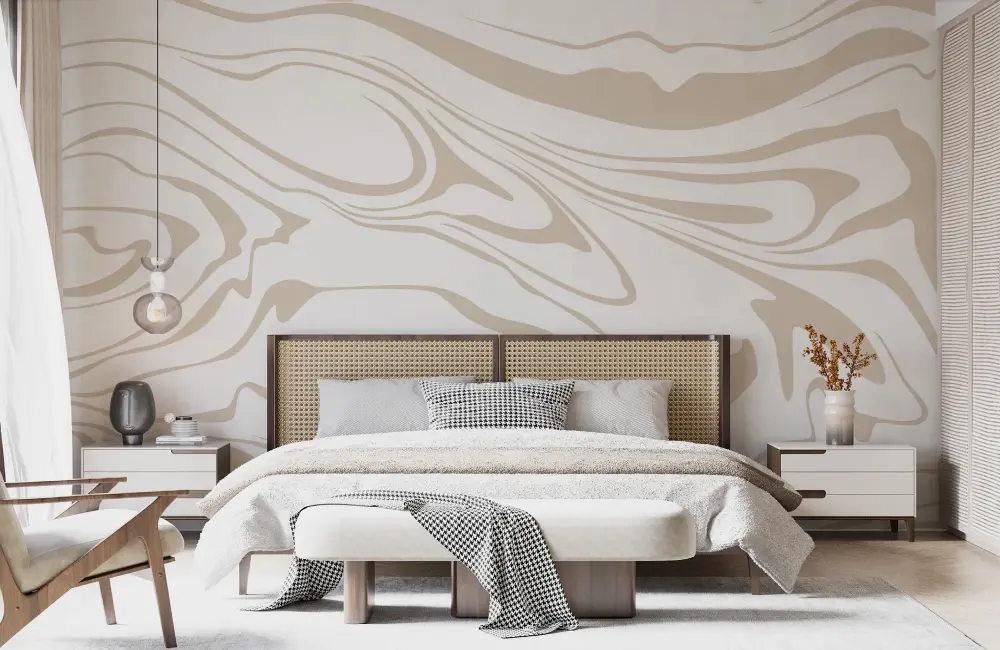
- Cleaning Challenge: They can be peeled by water cleaning, and their texture can trap dust.
- How To Overcome Them: Do not soak the kitchen or bedroom wallpapers while spot cleaning.
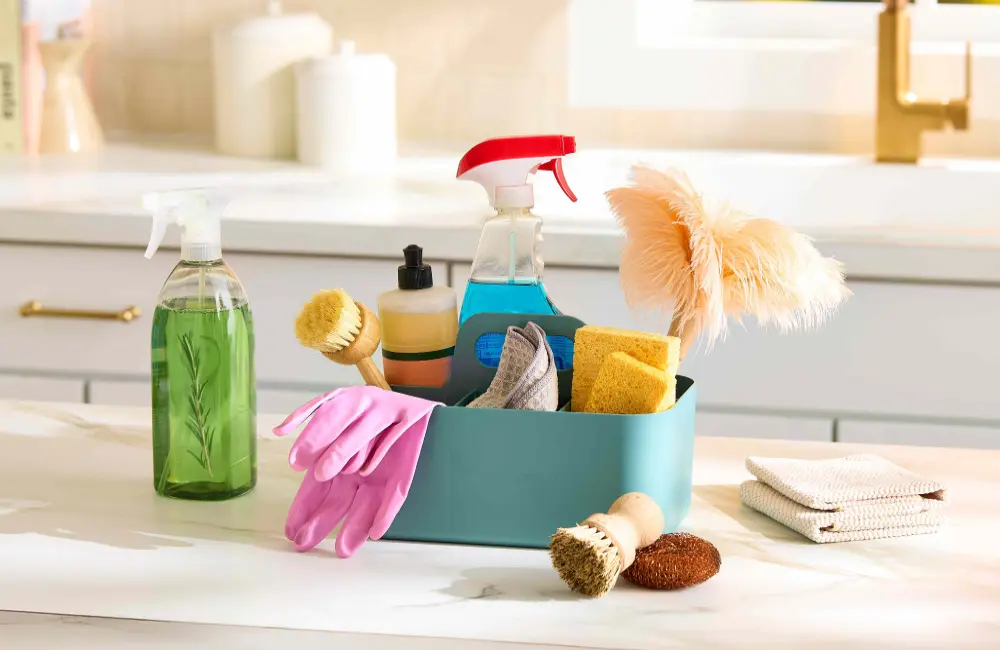
Material Required For Wall Cleaning — Tools, Cleaners, And Other Equipment!
| Tool And Material | Purpose | Tips |
| Microfiber Cloths | Dusting and wiping | Soft, lint-free |
| Soft Brushes | Reaching textured areas | Avoid stiff bristles |
| Mild Detergents / Wall Cleaners | Cleaning stains and dirt | Test on a small area first |
| Sponge / Soft Scrubber | For painted and tiled walls | Use gently to avoid scratches |
| Bucket with Warm Water | Diluting cleaners | Use separate buckets for washing and rinsing |
| Vacuum Cleaner (with brush attachment) | Dust removal | Works well for textured walls |
| Towels or Dry Cloths | Drying the wall | Prevents water smudges |
| Optional: Wall Polish / Varnish | Finishing touch | Especially for wood and glossy surfaces |
A 6-Step Cleaning Routine For Hygienic And Clean Walls
Here is a detailed and elaborate cleaning routine for cleaning and washing (waterproof wall finishes) your walls to maintain an allergen-free environment and a higher air quality index.
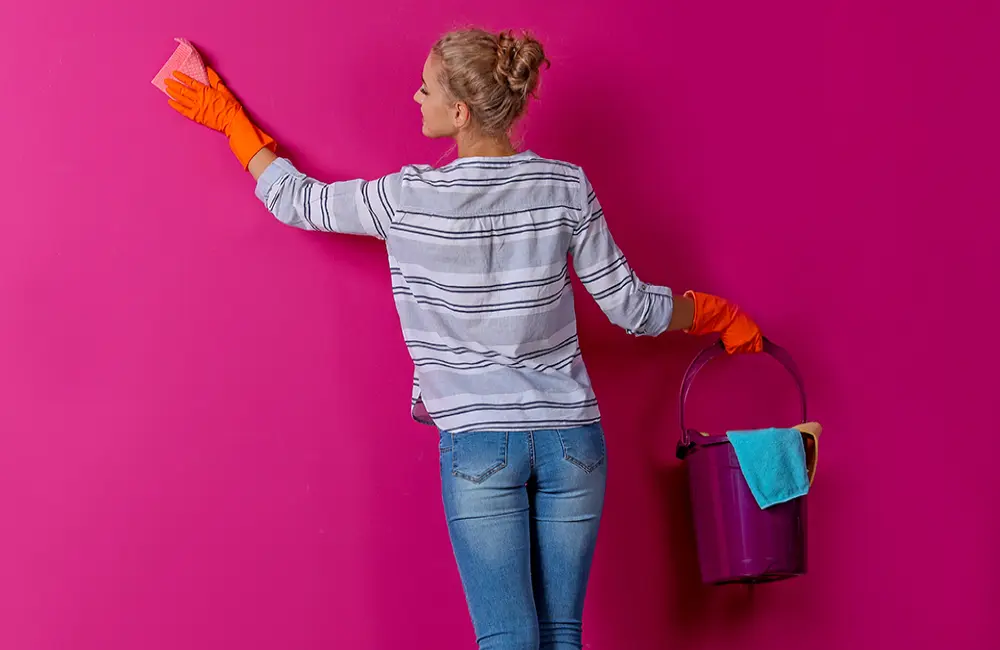
1. Prepare The Room And Equipment
The first step is to prepare the room and the safety equipment. Move the wooden furniture and any other kind away from the wall that you are cleaning. Place a plastic sheet or a protective covering on the floor to avoid damaging it.
Now, put on your safety gear. Wear gloves, masks, and goggles. Gloves would protect your hands from chemicals, and the mask and goggles would protect you from toxic fumes (if any). Gather all the equipment listed above for a seamless and smooth cleaning process.
2. Dust The Walls Thoroughly
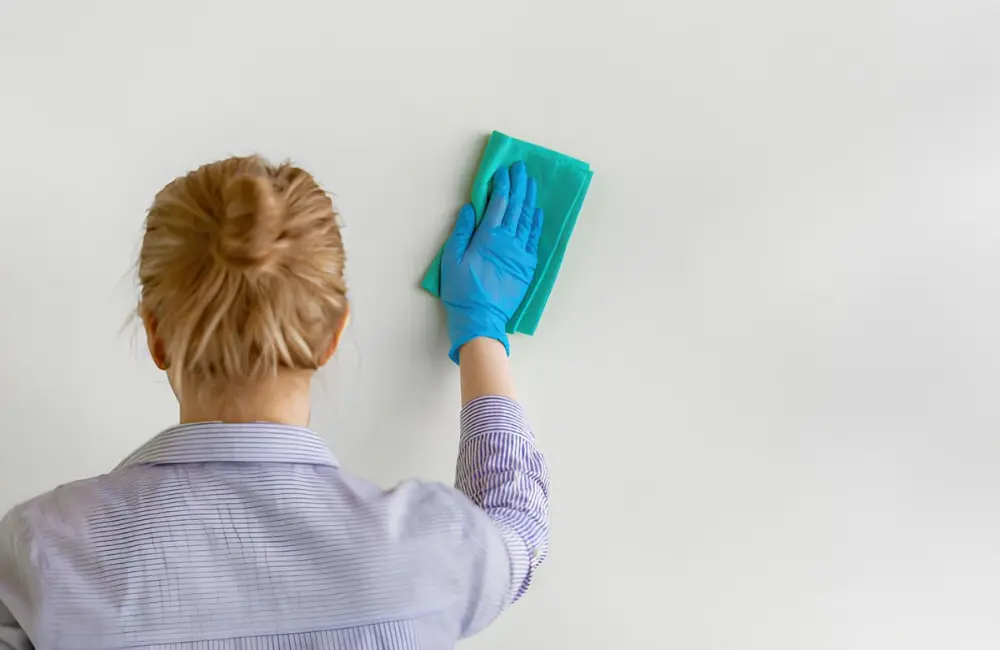
Now, you have to prepare the walls for the cleaning. First, dust the walls with a microfiber towel. Dust thoroughly the entire wall surface. Try to take out as much grout as possible from the grout lines. Do not use a harsh brush for textured walls or the wallpaper, as the brush can damage their surfaces.
3. Wash The Walls With Mild Cleaners
In case of waterproof paint or glossy finish, you can wash the walls. But even in this case, be extra careful not to thoroughly drench the walls with water. Take a soft sponge and apply the diluted cleaner on the walls, and then cleanse them with the same sponge. In case of wooden walls or wood panels, use wax-based cleaners so that they don’t lose their structural integrity, as water can cause the wood to warp and swell.
4. Rinse And Wipe The Walls
Now that the walls are cleaned and the stains are spot cleaned, it is time to rinse the walls. Take a soft sponge and dip it in a bucket of warm water. Squeeze the sponge thoroughly to wring out water. Now, use this damp sponge to completely rid the walls of any cleaning solution. If there is a residual cleaning solution left, there is a chance that it will develop a pungent odour, and dust will accumulate on that residue even more quickly.
5. Dry The Walls Completely To Avoid Water Smudges
Your walls are dusted, cleaned, and rinsed to perfection. The next step is crucial. You need to dry your walls. Now, walls are extensive and drying them by hand almost seems impossible, and if not dried properly, they would show signs of water smudges and streaks, which is unsightly. To avoid this, open every window in that room and physically blot the moisture off the surface of the walls.
6. Finishing Touches — Varnish, Top Coat, & Polish

After cleaning the walls, give them the final touches. If your wall is wooden, apply the finalizing wax top coat to give it its natural shine and beauty. For glossy paint, the finishing step is the varnish. Do NOT use any kind of sealant or top coat on the wallpaper, as they can damage the wallpaper extensively. Dry the wallpaper completely, and that’s it.
Dos And Don’ts For Different Walls While Cleaning
Here is a brief table instructing you about the major dos anddo’ts while cleaning different types of walls.
| Wall Types | Dos | Don’ts |
| Paint | Test cleaner in a hidden spot; use a soft cloth | Scrub hard; use harsh chemicals |
| Textured Walls | Use a brush/vacuum for dust; gentle washing | Aggressive scrubbing; soaking water |
| Tiled Walls | Use mild detergent; clean grout lines | Acidic cleaners on natural stone; abrasive tools |
| Wood Cladding | Use wood polish; dry immediately | Soak with water; harsh scrubbing |
| Wallpaper | Spot clean with a damp cloth; test in a small area | Excess water; harsh cleaners |
A Quick Overview — How To Clean Your Walls!
Our discussion is almost over. Let’s review what we talked about in the above paragraphs. We started by stating some facts that supported the regular wall cleaning. Next up, we discussed the different wall finishes and how their cleaning routines were based on the differences in their composition. After this, the material and some equipment were suggested that would help clean the walls. The proper cleaning routine of the walls consisted of 6 major steps, which were elaborated in the most helpful way. We also talked about finalizing each wall type and suggested the top coat, and singled out the one that didn’t need any finalizing or a top coat. We concluded our debate by formulating a concise table telling you what to do and what to avoid while cleaning your walls.